Showing posts with label Sides. Show all posts

Wednesday, March 30, 2022

Vegan Baked Empanadas - Two ways - Cheeseburger Filling and Black beans and Corn

Every country has their versions of dumplings, fried or baked and mostly all of its delicious. Today I have tried South American's favorite dumpling called Empanadas, all the countries there has their version of Empanadas but here I have made two different versions and baked it and served it with spicy and garlicky chimichurri sauce. Again you can use your favorite protein and make it , I have used gardein ground be'f. 


Ingredients for Cheeseburger :

1 cup gardein ground be'f you can use soy granules also
1/2 cup thinly chopped onion
Ketchup , mayo, mustard as per taste
3-4 pickle chips finely chopped
salt and black pepper as per taste
Cheese as needed
1 tbsp. oil

Method : 

Heat a oil in pan, add onion and cook till its soft, add beef , mayo , mustard, pickle chips, ketchup , salt and pepper and mix it . Cook till its all dry and mix it nicely. 

Take it out and keep it aside.

Ingredients for Mexican Black beans and Corn:

1/2 cup canned black beans, drained
1/4 cup thawed yellow corn
1/2 carrot grated
1/2 chopped jalapenos
2 garlic cloves finely chopped
Paprika powder , garlic powder, salt, roasted cumin powder and oregano as per taste
1 tbsp. oil

Method : 


In a same pan, you made cheeseburger filling, wipe it with paper towel. 

Add oil in it and when its hot, add garlic in it.

When its cook for 30 seconds or so add jalapenos and cook for 30 seconds.

Then add beans , corn, carrot and mix it while adding spices in it. 

Cook till everything combines and dry. 

Keep it aside and let it cool little bit before you stuffed it in discs.

For Empanadas 

1 pack of Goya Empanada baking discs
2 cups of Shredded cheese
Water to seal the disc

Take one disc out, wet your finger in water and put the water on sides of disc.


Put two tbsp. of stuffing in the middle of the disc and same amount of cheese on top of it. You can do more cheese and less stuffing too. Its totally up to you. 

Fill it both stuffing in all the discs and bake it in air fryer for 10 minutes at 395 F .

Temperature is varied with all machines so adjust as per your machine requirement. 

When its done on one side, flip it on other side so its cooked from both side. 

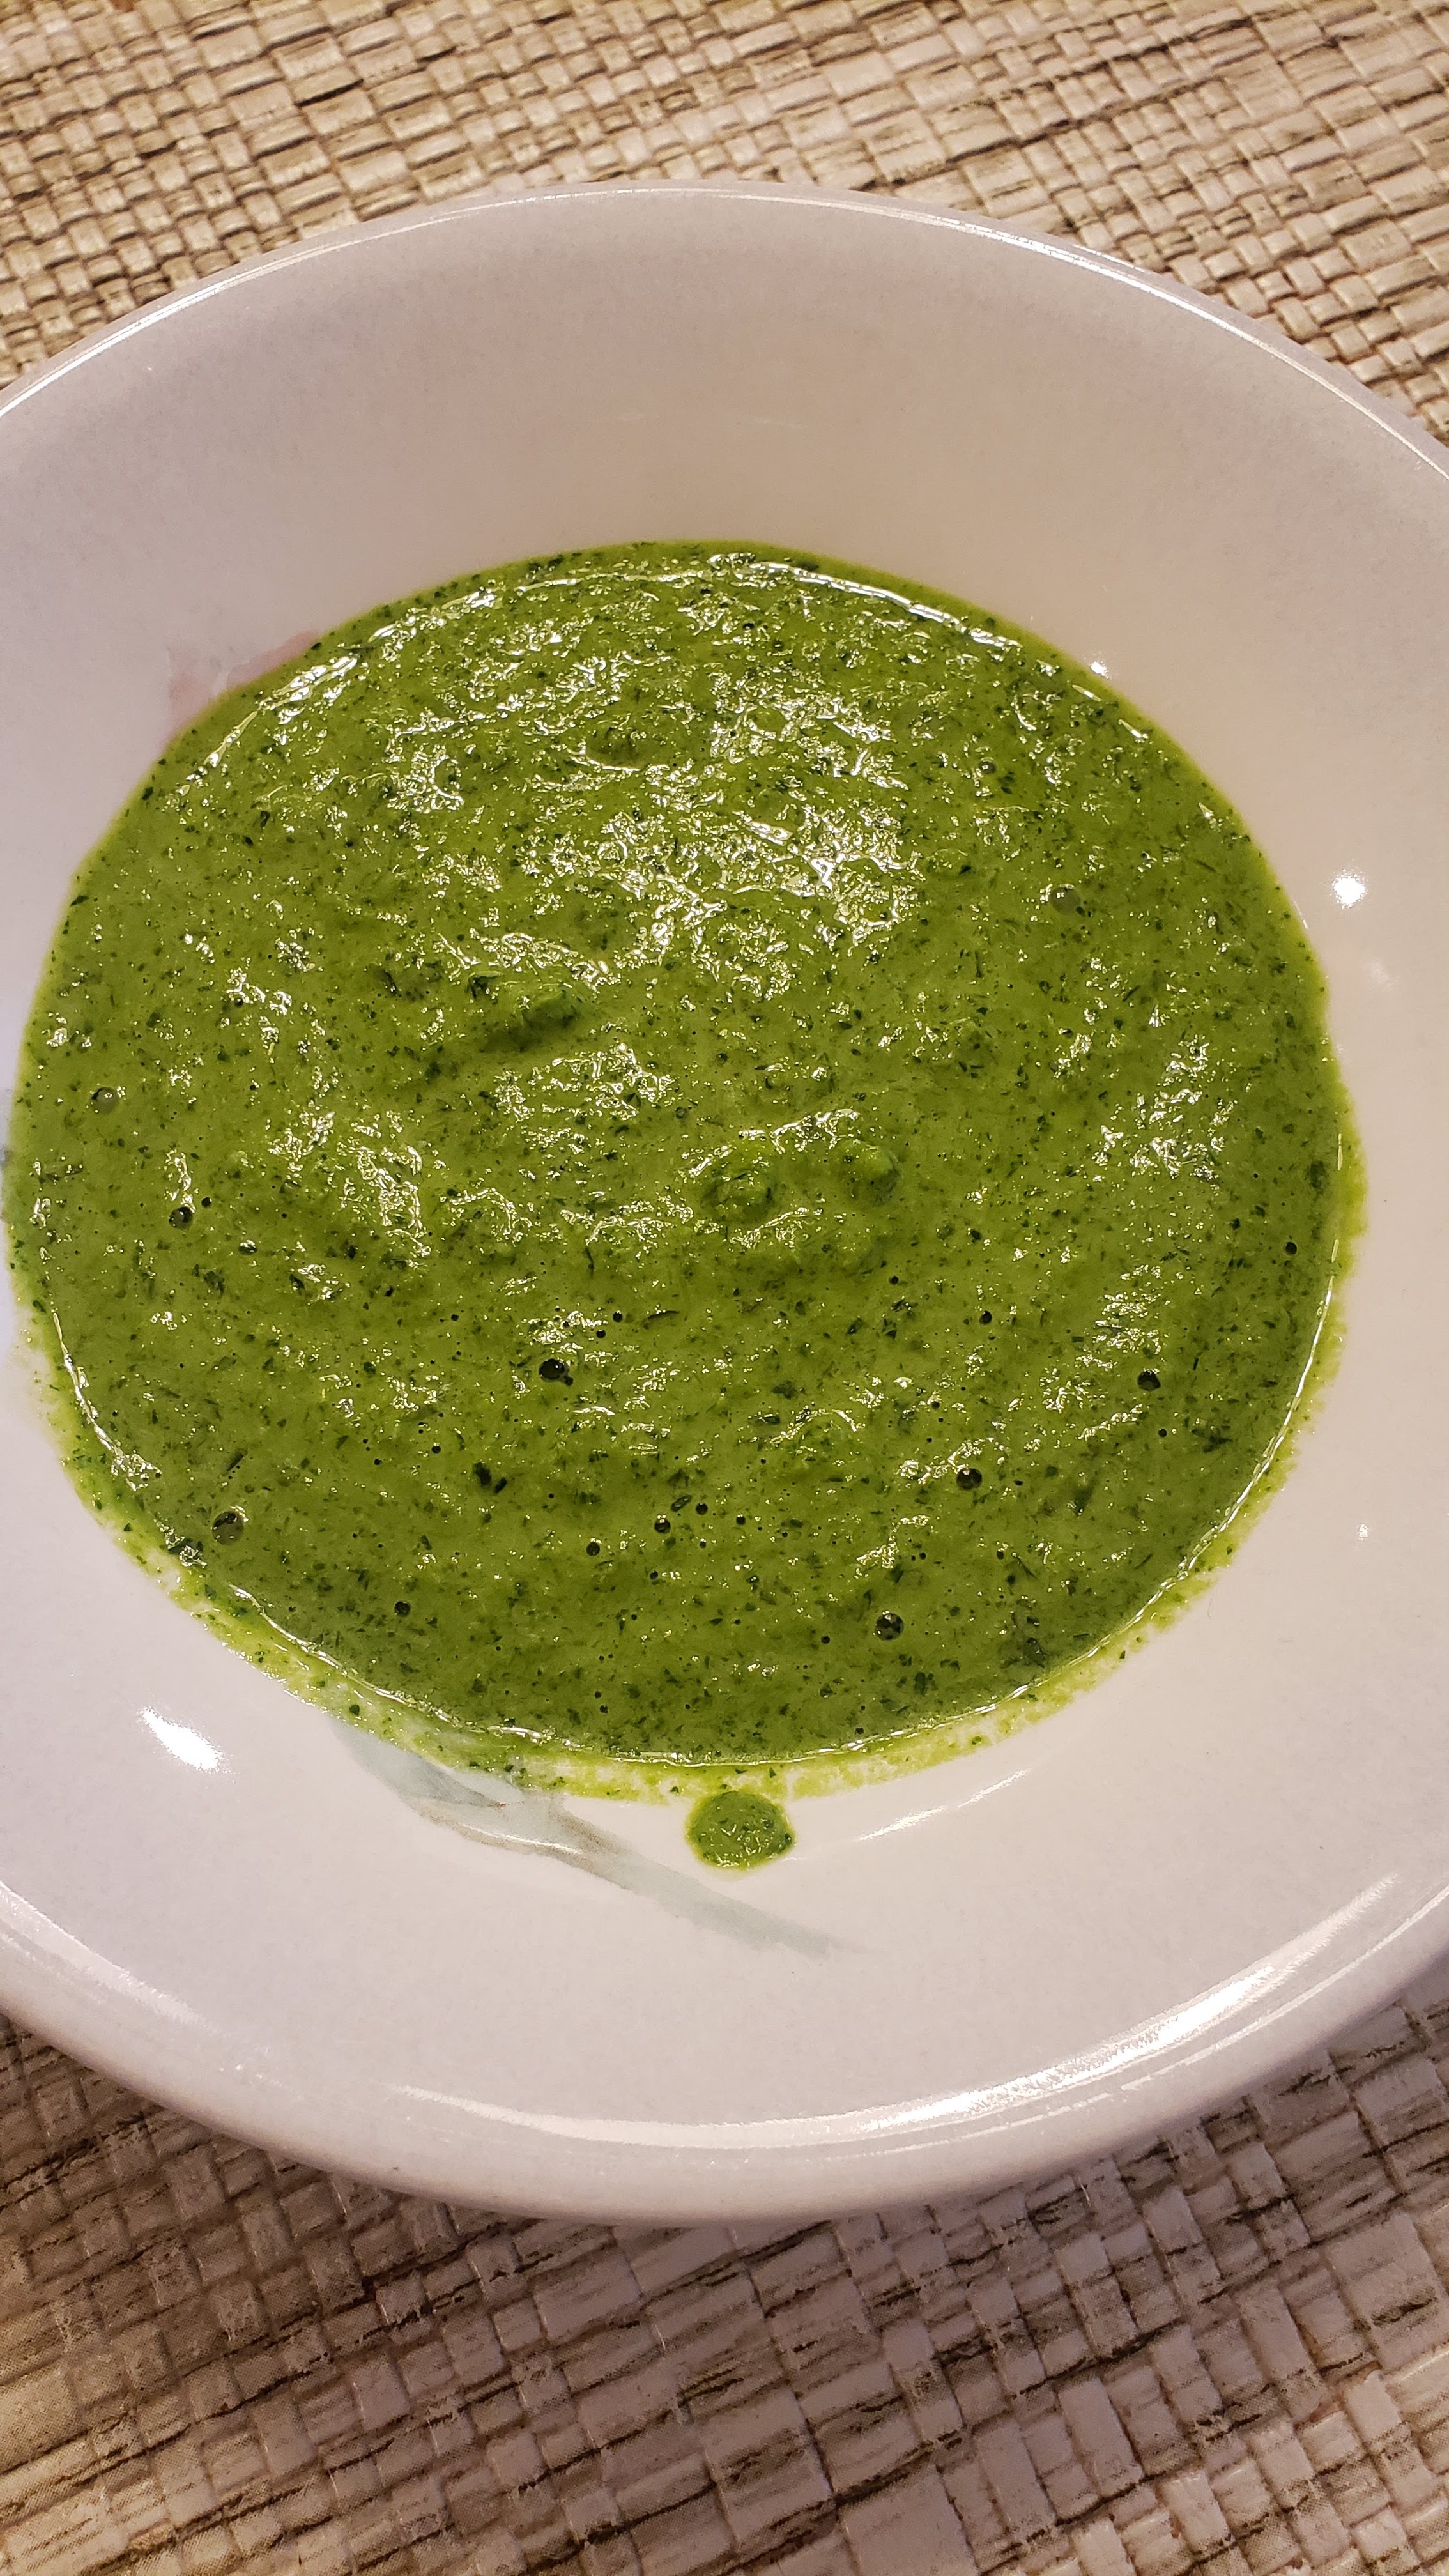
Serve hot with spicy , garlicky  HCF: Chimichurri Sauce on side. 


Wednesday, March 9, 2022

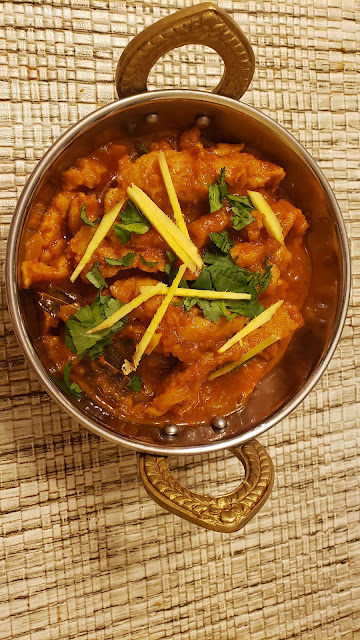
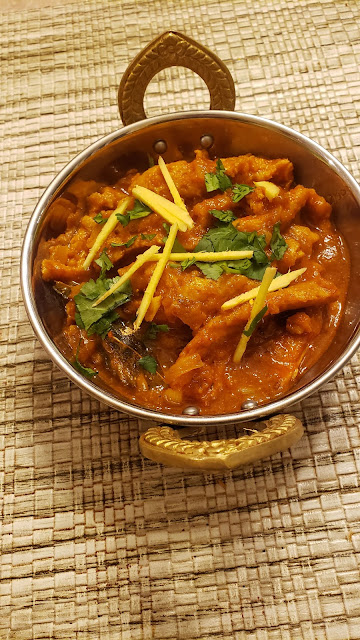
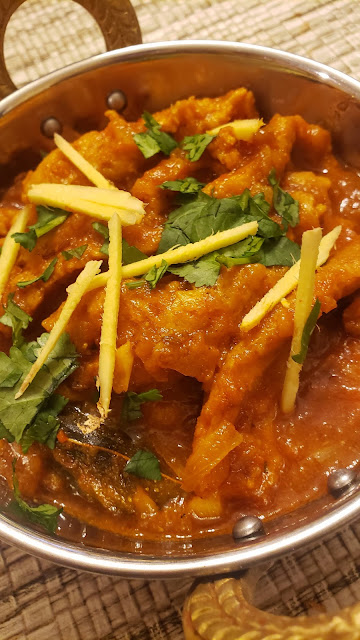
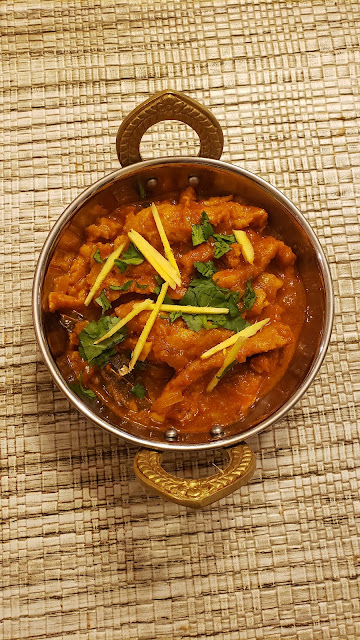
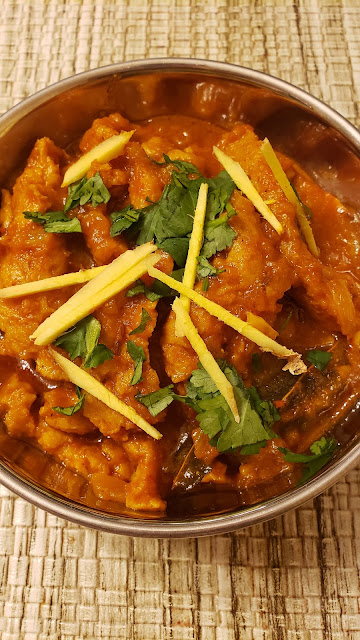
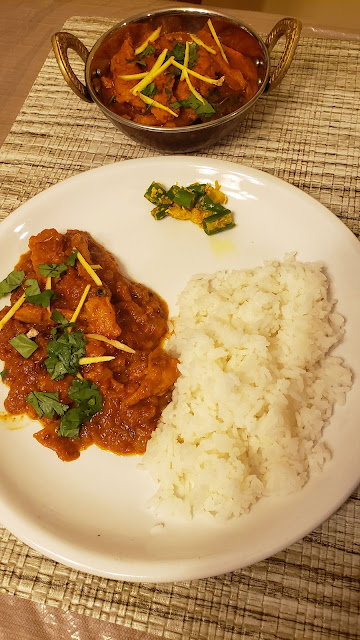
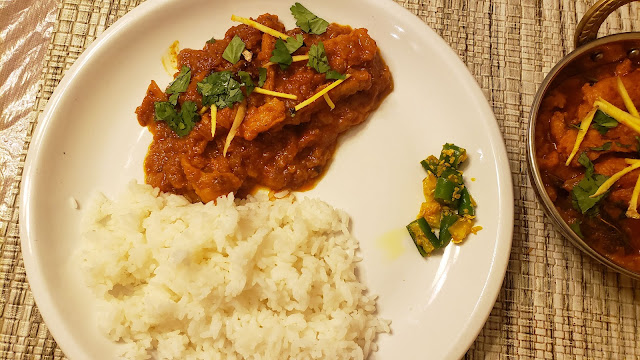
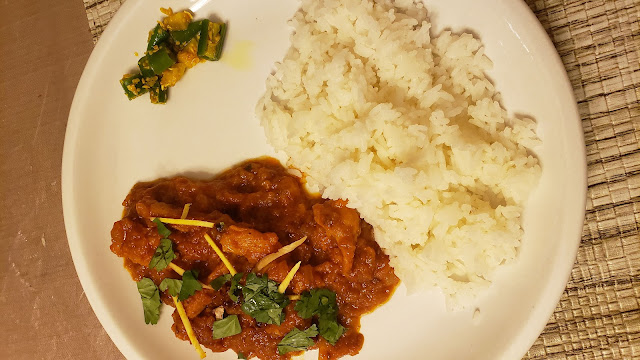
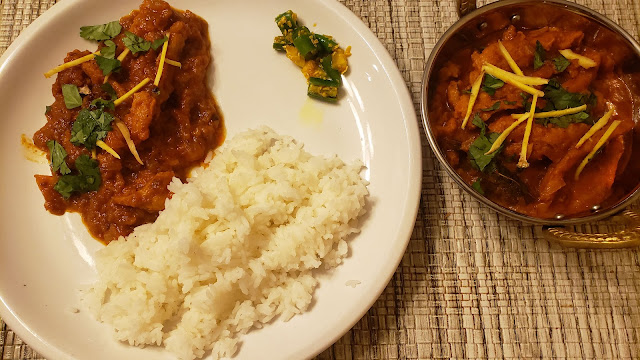
Soy Curls Chick'n Masala

So I got this bag of soy curls which after hydrating turns soft and you can put it in any seasoning and it will take that flavor. So wanted to make chicken masala, everyone makes butter chicken from that so nothing new in it but I just wanted my old time favorite simple chicken masala to pair it with  rice. It came out so good that now it become one of my new favorite. I have used ready made fried onions but if you don't have it you can use fresh onions and cook till it becomes brown.


Ingredients : 

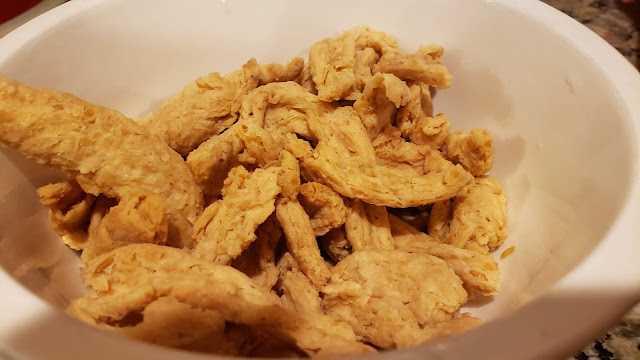
1/2 cup  not soaked soy curls which will yield 1 cup of it
1/2 cup ready made fried onions
Whole spices - Bay leaf, black pepper corns, cinnamon sticks
1 tbsp. Tomato paste if you don't have it then 1/2 cup tomato puree
1 tbsp. Kashmiri chili powder
1/2 tbsp. Spicy chili powder - if you like spicy then
1 tbsp. roasted cumin powder
1/2 tbsp. turmeric powder
Salt as per taste
Fresh chopped coriander leaves and ginger julienne for garnish 
2 tbsp. Oil

Method :

Soak soy curls in water for 5 to 10 minutes then take it out and remove the water out from it. keep it separate.

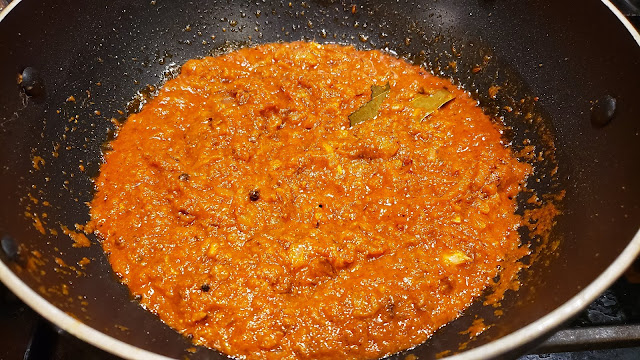
In a pan, add oil , when it become hot, add whole spices and cook it for a minute.

Then add fried onions  and mix it with whole spices.

Add tomato paste / Puree and mix it , add 1/4 cup water to cook the tomato.

Add red chili, turmeric powder, cumin powder and mix it and let it cook for on low flame for 4 minutes.

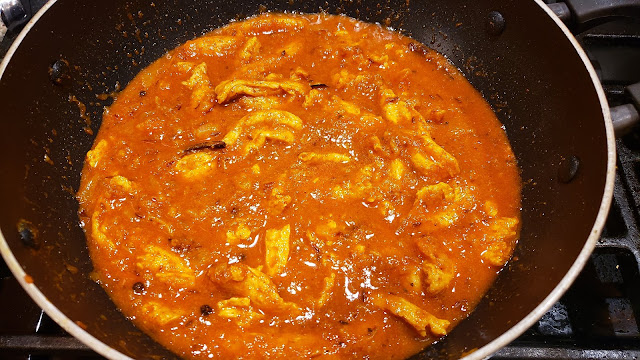
then add soy curls and mix it and adjust the gravy consistency and add salt and then cook it on low flame for 5 minutes. 

When you get your desired consistency, switch off and serve hot with rice , paratha  , naan.

Garnish it with fresh chopped coriander leaves and ginger julienne. 


Friday, January 7, 2022

Vegan Kimchi

I made kimchi before also but that time it was for my husband so it was mild in flavor and little different spices than regular one.  Since last few days was craving for real spicy kimchi and got the big head of napa cabbage , when I was cutting the cabbage , my husband said don't make it too spicy, I also want to eat it , I said no I want to eat this so I will add spices as per my taste, But being a good wife and thinking about him, I have added not that much pepper powder in it and still in mild side but its 100% vegan so we can enjoy it since outside ready made kimchi looks very good but all has anchovies in it and can not eat that. 


Ingredients :

1 Large Napa Cabbage
3/4 cup sea salt or regular salt

Ingredients for paste

2 tbsp. rice flour
4 cloves garlic finely chopped
4 tbsp. either gochugaru or Korean red pepper flakes or spicy red pepper powder
1 tbsp. Kashmiri red chili powder for color
1 tbsp. Vegan fish sauce

Few pieces of white radish lengthwise chopped
2 green onions cut  lengthwise
Few ginger pieces cut lengthwise

Method : 

Cut the cabbage in quarter lengthwise and remove stem then cut into bite size pieces

Put the cabbage in big strainer and sprinkle handful of salt. Mix it nicely so everything is covered by salt. 

After 3-4 hours, you will see that cabbage has released the water. Now wash it thoroughly under running water and drain completely. 

For the paste, in a bowl, add rice flour, garlic, gochugaru, Kashmiri red chili powder and fish sauce.
Mix it nicely .

in a big mixing bowl, add paste, vegetables and cabbage  and mix it, if you have sensitive skin wear gloves and then mix it or use a spoon.

If you like you can add sesame seeds too. Now transfer to a air tight glass bottle and make sure bottle is not full , it has space to ferment. 

Close tightly and let it leave it on kitchen counter for 2-3 days , the more it sits the nice it taste. 

Once its ready take it out and enjoy as it is or with your favorite food. 


Wednesday, December 1, 2021

Air Fried Methi na Muthia - Gluten Free

Muthia is a yummy snack from verities of vegetables you can make it from. Each one has its unique flavor, but the texture more over same. You can either steam it or deep fry it  specially this one. Because methi na muthia is mostly used in undhiyu which is a winter specialty in Gujarat and since methi is in season during winter, hence the use of it in cooking is. This muthia you can make it as regular steamed muthia and have it as a snack, or deep fried it or better , now with the new gadget , air fried it. It takes hardly 10 minutes and its ready. You can eat it as it is or use in undhiyu or muthia with lilva and val na dana nu shak, I used it in eggplant , lilva nu shak.


Ingredients :

2 cups of washed and chopped methi leaves
1/2 cup bajri flour
1/2 cup juvar flour (if you want you can take whole wheat instead of Juvar)
2 garlic cloves finely chopped
1 green chili finely chopped
1 tsp grated fresh ginger
Pinch of Turmeric powder
1/4 tsp each baking soda and powder 
Salt to taste
1 tsp Kashmiri red chili powder
Juice of one lime / lemon
2 tbsp. oil
Water as needed to make the dough
1 tbsp. sugar - optional  

Method : 

In a bowl,  add methi leaves, both flours, Turmeric powder, chili powder, salt, ginger, garlic, chili, juice, oil and baking soda and powder.

Mix nicely and try to knead it so you don't need to add too much water.

Now add little water at a time to make it all combined and it comes out as a dough. 

Now take small portion of it and shape into small oval shaped, its totally up to you how long or small you want to make it. But we are air frying so keep everything same size and portion to cook it at same time.

Once all done, put it in air fryer plate, spray the oil on both sides.

Set the fryer on 400 for 10 minutes and  put the tray in it

Flip it in between from every side so it cook evenly. If you don't get the color, keep it longer for few minutes since all air fryers are different. 

Use it as it is with chutney or save it to make it undhiyu or what ever your heart desires. 


Friday, June 4, 2021

Korean Spicy Garlic Eggplant

If you follow my blog, by now you should have known that I love eggplant, round, long , thick, thin, any shape eggplant I can eat it. This is my new favorite way to eat eggplant, its so flavorful and its goes perfect with steamed rice. You don't need any fancy rice with this since eggplant has so much flavor you need to enjoy that with plain rice. You can make this as per your taste, mild or spicy since it has gochujang and Korean red pepper powder. 

I made this for my diner and leftover I enjoyed it for my lunch next day and it was tasted even better. 

so lets start making it. You need long purple eggplant for this.


Ingredients : 

2 purple eggplant
2 to 3 cloves of garlic chopped
1 green onion chopped
2 tbsp. soy sauce
1 tbsp. agave syrup, honey or sugar or maple syrup
1 tbsp. sesame oil
1 or 2 tsp. gochujang sauce 
1 tsp. Korean red pepper powder or flakes
2 tsp. sesame seeds

Method : 

Remove caps of eggplant. Depend upon the eggplant size, cut it in 3 inches long then cut into halves lengthwise.

Bring water to boil in a steamer pot. 

Put all the cut eggplants skin side down on steamer. 

Cover and steam for 5 minutes. 

While its cooking combine, garlic, green onion, soy sauce, agave, sesame oil, gochujang , red pepper powder in a serving bowl. 

When eggplant is done cooking, remove from steamer and cool it down for 5 minutes or till you can handle. 

Once its cold cut eggplant in three pieces lengthwise. 

Add it to the sauce mixture and mix gently with spoon not to break it. if you can handle the heat in your hand , use hand to mix it otherwise wear gloves and mix it. 

Garnish with sesame seeds and serve with warm white rice. 


Related Posts Plugin for WordPress, Blogger...

Search This Blog

Copy right

All recipes on this blog is copy righted by me, the blog owner.

Welcome all food lovers

Hi Welcome to my blog. I am stay at home mom with two cute kids, one boy and one girl and only masi of my amazing nephew. I love to cook and make new friends so lets start a new friendship. You can contact me at patel.linsy@gmail.com.


Labels

Followers

Flag Counter
myTaste.com
Top Food Blogs

Won Best Recipe from Arthy Shama

Won Best Recipe from Arthy Shama
Vegetable Deewani Handi

Winer of Best Recipe - Calzone

Winer of Best Recipe - Calzone
From Sowmya and Nithu's Space

Award from Rashmi from Aromatic Encounters

Award from Rashmi from Aromatic Encounters

Best Mexian dish award from Janet

Best Mexian dish award from Janet

Top Contributor Award

Expert Blogger Award from The Yogi Vegetarian

Expert Blogger Award from The Yogi Vegetarian

Participation Certificate

Top contributor Award

Top contributor Award

Participation Award

Participation Award

Participation Certificate

Participation Certificate

Winning Dish - Malai Kofta

Winning Dish - Malai Kofta

Participation Certificate

Participation Certificate

Leibster Award from Sabeena

Leibster Award from Sabeena

Liebster Award

Liebster Award
By My Food Treasures

Best Salad recipe from Jalela

Best Salad recipe from Jalela

Certificate

Certificate

Certificate

Certificate

Best Healthy dish Award

Best Healthy dish Award

Certificate

Certificate

Certificate

Certificate

Awards

Award

Award

Certificate

Certificate

Certificate

Certificate

Certificates